

Introduction
Hello everyone, today I want to share some kitchen tips that I've practiced for years. As someone who just moved out and started working, I know how challenging it can be to navigate the kitchen. We often encounter frustrating situations, like struggling to mix peanut butter evenly, tediously removing herb stems, not to mention sophisticated plating techniques. Don't worry though, I'll share some pitfalls I've encountered and experiences I've gained to make your cooking journey smoother.
Mixing Peanut Butter
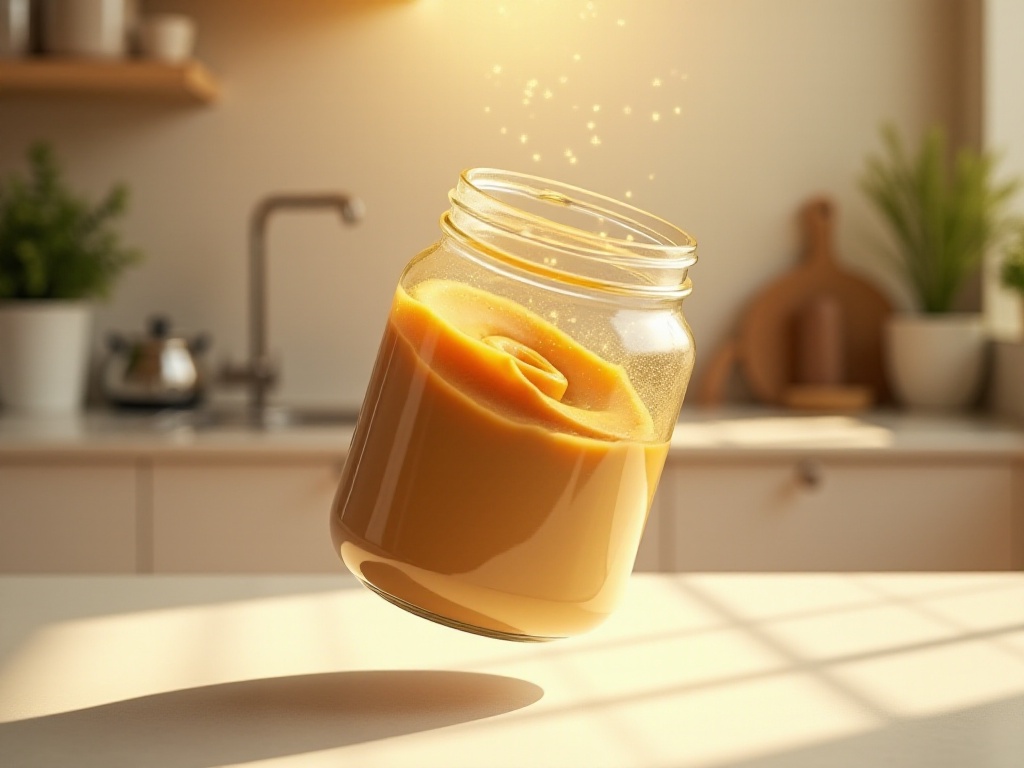
Speaking of peanut butter, this has been a problem that bothered me for a long time. I remember when I first started making my own breakfast, every time I opened a new jar of peanut butter, seeing that layer of oil would give me a headache. Stirring vigorously either resulted in oil splashing everywhere or never mixing properly. The worst time was when I was rushing to work - I just gave it a quick stir and spread it on bread, resulting in the first few slices being all oil and the rest being dry, clumpy peanut butter. It was absolutely terrible.
Later, by chance, I discovered an amazing method. Don't rush to open your new peanut butter - first store it upside down for a day. Yes, just keep the jar inverted for 24 hours. The principle is simple: the oil will flow toward the bottom (now the top) due to gravity. The next day, when you turn the jar right side up, the oil will slowly permeate from the bottom up. Stirring at this point becomes incredibly easy.
I was shocked the first time I tried this method. The peanut butter that previously required tremendous effort to mix even slightly was now perfectly blended in just a few stirs. Moreover, the texture after mixing was excellent, without alternating between extremely oily and dry spots. Since then, I always prepare new peanut butter a day in advance, and never have to struggle with it in the morning anymore.

Removing Herb Stems
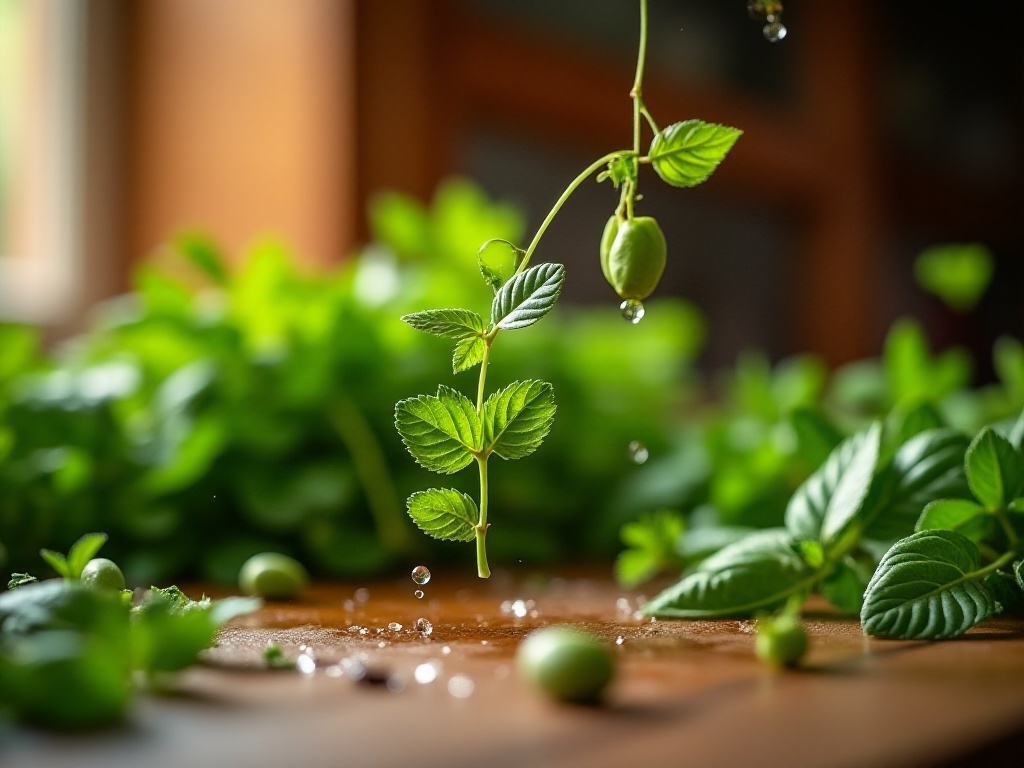
Removing herb stems used to be one of my most disliked kitchen tasks. I remember my first time making pasta, watching the chef in the video elegantly sprinkle fresh herb leaves - it looked so simple. But when I actually tried it myself, I discovered that just removing the leaves from the stems was incredibly frustrating.
Picking them off one by one was pure physical labor. Plus, the herb leaves are so delicate that applying too much force would crush them, making it impossible to sprinkle them nicely on dishes. I tried using scissors, but it wasn't precise enough and often cut the stems along with the leaves. Later, while watching a cooking show, I accidentally discovered a brilliant method.
Simply thread the herb stems through a small funnel hole or the hole in a seasoning bottle cap, then gently pull. Magic happens - the leaves automatically get caught on the edge of the hole and strip off neatly. This method is absolutely a lifesaver! What used to take ten minutes now takes just thirty seconds. Plus, the stripped leaves remain undamaged and maintain their perfect shape.
Now I love adding fresh herbs to salads or pasta because it's so convenient. Different herbs bring different flavors to dishes - basil for pasta, mint for fruit salads, thyme for roasted meat - each combination is delicious.

Italian Salami Plating
When I first started cooking, I always thought those elegant restaurant platings were very sophisticated, especially those Italian salami arranged in rose shapes - they looked so appetizing. Every time I saw food bloggers' photos, I thought I could never learn it. Until one day, I decided to seriously study this technique.
Actually, this seemingly complex plating method is quite easy to achieve at home once you master the key points. I've summarized a detailed set of steps: First, choose suitable salami. It's best to select evenly sliced, not too thick pieces, as they're easier to shape. If you're slicing it yourself, it's recommended to refrigerate the salami first, which will help make cleaner cuts.
Here are the specific plating steps: First, gently fold each salami slice, but not completely - leave a slight curve for a more natural look. Then start arranging from the outer edge of the plate, working your way inward. The key is to overlap each piece with the previous one by about one-third - this creates depth and makes it look like real flower petals.
When you reach the center of the plate, pay special attention to the last few pieces. Gently roll the last three or four pieces inward to create the rosebud shape. If it doesn't look dimensional enough, you can slightly adjust the angle of the outer pieces, making them curl up a bit.
I've completely mastered this technique now, and I prepare a salami rose whenever friends come over. Everyone exclaims "Wow, that's amazing!" when they first see it. It's just a simple plating technique, but it really elevates the entire table's presentation several levels.

Cleaning Oven Door
When it comes to the most frustrating kitchen cleaning tasks, cleaning the oven door definitely ranks in the top three. I remember when I first bought my oven, the glass door was so clean you could use it as a mirror. But after a short while, it was ruined by various oil stains. At first, I thought a simple wipe would do, but those oil stains seemed to have fused with the glass - ordinary cleaners had no effect.
I tried various cleaning products on the market, from regular glass cleaners to supposedly professional oven cleaners, but none were satisfactory. They either lacked cleaning power or had overwhelming chemical smells. Most frustrating were the cleaners that could remove some oil stains but left an persistent water mark on the glass, making it look even worse.
Later, during a deep cleaning session, I had an idea and tried a home remedy: make a paste with baking soda and water. Use finer baking soda particles to avoid scratching the glass. The paste shouldn't be too thin - it should spread evenly on the glass. The crucial part is waiting patiently to let the baking soda paste work on the oil stains.
I usually wait about 15 minutes, during which I can do other cleaning tasks. When time's up, use a plastic scraper to gently remove the baking soda paste. You'll find those stubborn oil stains come off easily. Finally, wipe thoroughly with a damp cloth to restore the oven door's original clarity.
This method is not only eco-friendly and non-toxic but also very cost-effective. Now I deep clean my oven monthly and never worry about those seemingly impossible-to-remove oil stains anymore. Keeping the oven clean isn't just about appearances - it also makes food taste better, because who wants their food to taste like burnt residue, right?
Cookware Maintenance
As a kitchen novice, I initially focused all my attention on the food itself, completely neglecting tool maintenance. Until one day, my favorite non-stick pan suddenly wasn't "non-stick" anymore. It was supposed to fry eggs without oil when new, but now even a whole bottle of oil couldn't prevent sticking.
After learning from this painful experience, I've developed a complete set of cookware maintenance methods. First, always let the pan cool completely before washing. This is crucial because the temperature difference between a hot pan and cold water can cause the bottom to warp and damage the non-stick coating.
When washing, never use steel wool or other hard cleaning tools. I learned this lesson the hard way - trying to scrape off stuck-on food, I applied too much force and scratched the non-stick coating. Now I only use soft sponges, patiently cleaning even the most stubborn stains with gentle methods.
Another crucial maintenance technique is regular "seasoning." I learned this effective technique from an experienced chef. Here's how: After washing and drying the pan, use a paper towel to apply a thin layer of oil (preferably high-temperature oil like peanut oil) evenly inside the pan. Then place the pan on the stove over low heat until it starts to smoke, then turn off the heat and let it cool naturally.
This process looks simple but requires attention to several details: the oil layer must be very thin - too much will be counterproductive; heating must be done over low heat - patience is key; never cool with water - let the pan return to room temperature naturally. Pans maintained this way will show significantly improved non-stick performance that lasts a long time.
Now I maintain all my cookware this way monthly. Although it takes some time, considering the price of cookware, it's definitely worth it. Well-maintained cookware is also much easier to use and improves cooking success rates.
Conclusion
Honestly, these tips are all summarized from countless failures. Each seemingly simple tip represents numerous attempts and improvements. But mastering these techniques really makes kitchen work much easier.
Cooking isn't just a life skill - it's an art that requires continuous learning and exploration. Everyone might encounter different problems and develop different solutions. That's why I love exchanging cooking insights with others - there's always something new to learn.
By the way, do you have any unique kitchen tips? Feel free to share them in the comments. Your experience might help someone facing similar issues!
Next time, I plan to share some tips about ingredient storage, like how to keep vegetables fresh and fruits lasting longer. If you're interested in these topics, remember to follow me, and I'll see you next time!